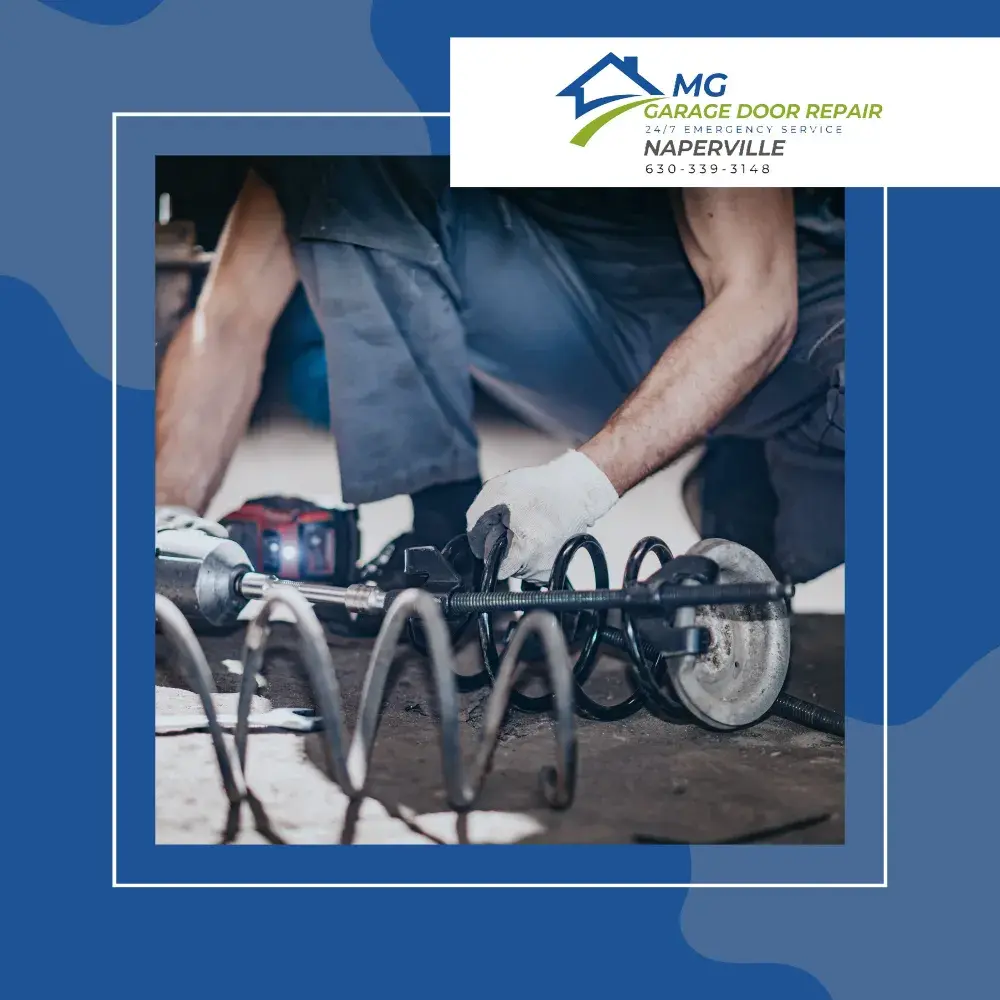
Performing a garage door spring replacement by yourself can save money, but it requires precision and caution. This guide provides a step-by-step process for DIY garage door spring replacement, along with essential safety precautions to ensure a successful and safe operation.
Understanding Your Garage Door Springs
Garage doors typically use two types of springs: torsion springs and extension springs. Torsion springs are mounted above the door and wind up to create tension, while extension springs run along the sides and extend to lift the door. Knowing which type you have is the first step in the replacement process.
Safety Precautions Before Starting
Garage door springs are under significant tension and can cause serious injury if mishandled. Before starting the replacement, follow these safety precautions:
1. Disconnect the Opener: Ensure the garage door opener is unplugged to prevent accidental activation.
2. Use Proper Tools: Have all necessary tools on hand, including winding bars for torsion springs and safety cables for extension springs.
3. Wear Protective Gear: Safety glasses and gloves will help protect against potential injuries.
Step-by-Step Guide to Replacing Torsion Springs
Step 1: Secure the door in the open position using clamps or locking pliers to keep it from moving.
Step 2: Loosen the set screws on the winding cone of the old spring using a wrench. Carefully unwind the spring using winding bars.
Step 3: Remove the bolts securing the torsion spring to the center bracket and slide the spring off the torsion tube.
Step 4: Install the new spring onto the torsion tube and reattach it to the center bracket. Make sure the winding cone is facing the correct direction.
Step 5: Wind the new spring using the winding bars, turning it the recommended number of times based on the spring manufacturer’s instructions.
Step 6: Tighten the set screws on the winding cone and remove the clamps or locking pliers from the door. Test the door’s balance and make any necessary adjustments.
Ensuring Proper Maintenance
Regular maintenance can prolong the life of your garage door springs. Lubricate the springs every six months with a silicone-based lubricant to reduce friction. Periodically inspect the springs for signs of wear or damage and replace them as needed. Performing balance tests can help ensure your springs are functioning correctly.
By following this step-by-step guide and adhering to safety precautions, you can successfully complete a DIY garage door spring replacement. Regular maintenance will help keep your garage door operating smoothly and extend the life of your springs.
Learn More
Common Mistakes in Garage Door Spring Replacement and How to Avoid Them
Top Tools Needed for Garage Door Spring Replacement: Expert Recommendations

